
5/25/2011


a new flight deck for Joey
Added a front deck recently so getting close to finishing up the front elevation. Recent projects include finishing up the hardi board siding painted a bright spring time mesquite leaf green, some new palms and repaired Adirondack chairs I built about 10 years ago. Cantilevered it about 30" to match the house. We will eventually landscape under the front edge to conceal supports and to aid the floating look. The framing is all of salvaged 2x8 treated lumber bought for a song off of craigslist. It was formerly a short lived arbor, hence the sawn ends and matching sawn 2x12 underneath. Decked it with treated 2x4's screwed off completely with 3 1/2" composite deck screws and then sanded it to remove all the markings and screw head burrs. It takes extra time for screws over nails but with freshly treated material you have to get it fastened down hard and tight to maintain straight lines. We're on a budget here so Ipe or other exotics, KD treated, composites etc. were not really considered this time. I've tried all the alternative decking materials, 5/4 deck boards, stains and sealers, concealed fasteners, and have decided that no matter what you do or how much you spend any wooden deck will still require maintenance, repairs, and eventual re-decking so it makes some sense to keep it simple, economical and easy to replace someday since it is inevitable.
 The end result is barefoot smooth, drains well, is flat and straight and zen minimalist simple. The dog loves the elevated vantage point and she hangs out along the edges so she can launch off of it like a aircraft carrier flight deck whenever an out of line chicken, unannounced visitor or low flying buzzard is in need of a spontaneous sorte. Some open riser stairs to match the deck replacing the temporary construction steps are being mulled over featuring a welded steel handrail made of some antique twisted rebar salvaged from another project.

2/22/2011
doors, bathroom & a bedroom.....
    |
| One of the original two-toned doors salvaged from Birdie's house. |
 |
| The 1910 doors are only 1" thick. |
 |
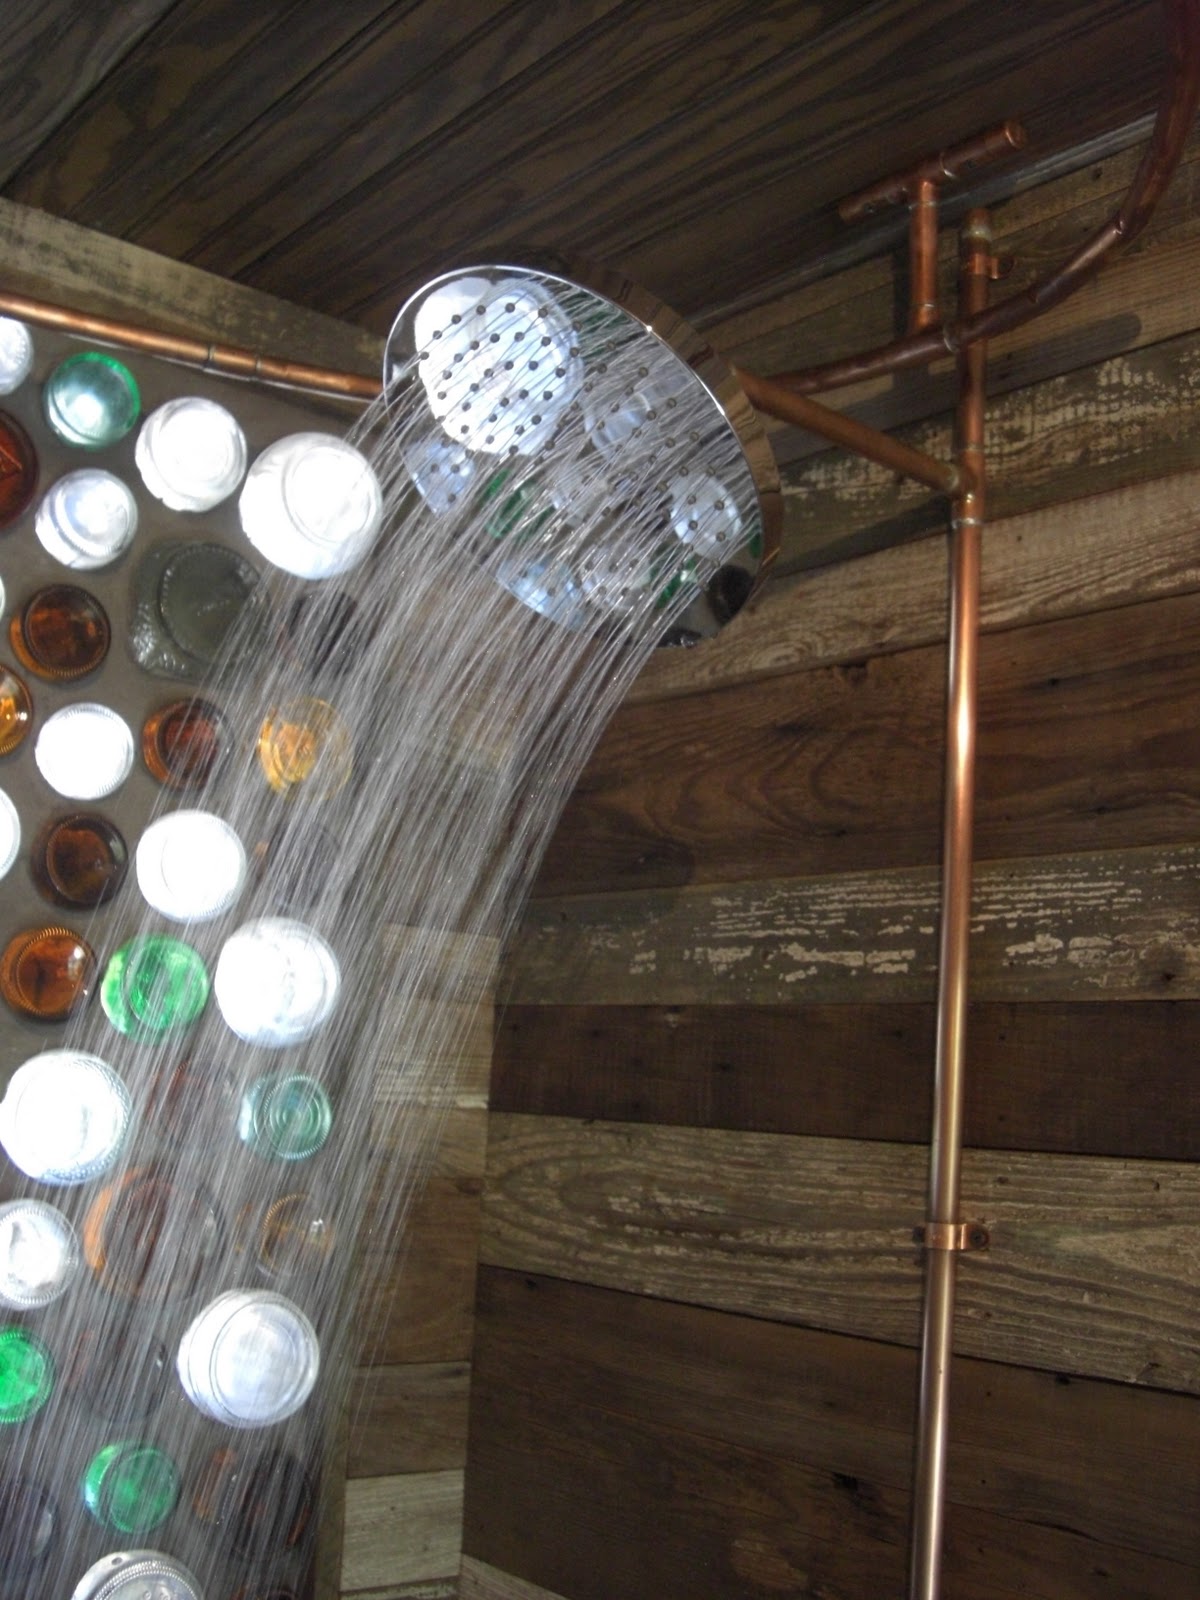
| Wire hooks came from a 1910 courthouse, the bottles were scattered all over the claim. |
 |
| A hundred year old 1910 era rimset with salvaged crystal knobs, even the privacy latch still works. |
 |
| A grandmother's quilt, 1890's pressed tin shingles found on the claim with a cornice from the original JC Penney's store in Amarillo, TX. The shelf is waiting on a collection of 1960's lady head vases.The drawing is of my grandfather's western swing band in the 30's, the piece over the mission rocker was inspired by a voodoo shrine in New Orleans devoted to swamp witch Marie Laveau. |
1/31/2011
door hardware


Even 120 year old rimsets, knobs and hinges still have a lot of life in them. The set above has a broken throw-bolt but the springs, latch and privacy lock work just fine after a good cleaning with Navel Jelly, WD 40 and a wire brush. That is some serious Wabi Sabi. How many thousands of hands have held these knobs? The crystal knobset came from a house remodel in Amarillo, the porcelain and steel sets are originals from Birdie's house and the bakelite lever was a donation from cousin Terry. All will have a new life here in the house. Several years worth of collecting have yielded enough antique hardware for all the interior doors. Rosettes, keyhole covers, rimsets, knobs and matching butt hinges. The panel doors from Birdie's house are only 1-1/8" thick but are all flat and straight. Some have to be completely knocked apart to reinforce joints and add dutchman repairs from old hardware scars. All will simply be sanded smooth and waxed to finish. The original paint will be retained and the years of worn rounded edges are kept and treasured like a pair of comfortably worn jeans.

1/13/2011
old skool analog wall clock

I stopped wearing a watch years ago since you can't seem to escape a digital clock somewhere nearby either on the dashboard, computer screen, cellphone, vcr, microwave, or passing bank sign. I also found that without the clock crutch on your wrist your internal body clock will fine tune itself. I can usually guesstimate within 30 minutes what time it is by instinct (until daylight savings time throws me off for a few weeks). But with the new TV without a clock and deletion of the ubiquitous VCR we suddenly found ourselves often wondering what time it was a little more accurately for homeschooling. I've always been a fan of George Nelson atomic clocks, especially the skeletal but mostly commercial built-in types with the floating hour markers mounted directly to the wall. Obviously; those require preplanning in a "normal" house to have access to the clockworks inside the wall. Solid salvaged board walls in the new house afforded access to both sides of the living room wall for an internal movement. All that was required is a small flush mounted access door held by a single screw on the bedroom side to get to the batteries. Hobby Lobby provided an inexpensive movement with tacky traditional hands but voila'; they also had longer straight hands in brass that only required a quick coat of white spray paint. They contrast cleanly with the weathered wood background, carefully preserved graffiti and all. Small wooden hobby spheres and larger split spheres work great as hour and 5 minute markers ala' the radiant spheres of Nelson's original. I laid out a template on the iMac for accurate placement of the hour markers about 14" across. I then taped it to the wall in a visible spot from all over the living room and kitchen, tapped the locations with a nail set and drilled a small pilot hole "dent" to glue the beads into place. We have mid century modern accents throughout our collection of stuff so the new clock seems right at home, even rusticated as it is, with the large 60's light globe pendants salvaged from an old church remodel and a pair of danish bent plywood backed side chairs from the 50's bought at auction.
12/14/2010
home sweet home


We've been enjoying the new digs since Thanksgiving; got the Kitchen, living, bath and one bedroom 90% done or more. Went ahead and moved in while we are working on the last bedroom. Still lots to do outside too but the light at the end of the tunnel isn't just a glimmer anymore but is a pretty darn bright searchlight. Two hard weeks could finish it but finding two weeks in a row to take time off is a real challenge right now. Guess we'll have to stay satisfied with weekend progress unit it is finished. The tin shingles behind the TV were found piled under a tree on the place, lots of cleaning and straightening allowed the 1890's roofing to coax itself back into the original slots and they aligned beautifully again once more after all these years of neglect. The ceilings came off of an add on craigslist. The early 60's globe lights came out of the First Baptist Church in Wellington, Texas - we've been carrying them around for years looking for a suitable home. More soon.
10/22/2010
300 lb.s worth of concrete sink
The kitchen area is coming along nicely with the whole thing planned around a cast 'crete sink. Appliances were bought first to be sure of final dimensions and a late decision to use a porcelain top off of an old Hoosier style cupboard shortened the length of top to build by about four feet. The narrow 20" wide stove (that the punk kid at Home Depot insisted didn't even exist) placement gave me the dimension for a short butcher block top over to the wall and the window placement informed me of what was left of the wall. The resulting wall yielded close to 60" of counter space to fill with the concrete top giving us a single bowl sink centered beneath the window and a integral drainboard to the left. The grey water lines preclude using a disposal - have never been a big fan of flushing good compost material down the sink anyways. We first built the legs to support it out of galvanized 1" pipe using wall and floor flanges, the same pipe was used as a base under the porcelain top. Formwork for the concrete was built across the living room up on legs so that when we flipped over the final form it would be as the same level as the top and we wouldn't have to do any lifting. Smooth MDF board was used as formwork and then we caulked all the corners for a nice eased edge and heavily varnished it all to seal it from the wet concrete. The trickiest part of the whole affair was wrapping my brain around and then building an upside down drainboard and sink form with leave-outs for all the drain basket parts. This is hardly new technology; other people are masters at this but this was only our second foray into the alternative universe of the concrete countertop. A good article from Fine Homebuilding gave some direction as to methods and tips but as usual winging it is in my DNA. I used an acrylic plasticizer and dark charcoal colorant mixed with three and a half 80 lb. sacks of ready mix. The concrete was reinforced with a birdcage made of wired 4x4 hardware cloth. The local mix of sacrete is aggregated (is that a word?) with limestone chips so it made for a nice contrast with the darker matrix; a nice grog to background ratio.

According to experience a drier mix yields the strongest product, but against my better judgement for flow-ability, we went with a dry enough slump to make firm softball shaped lumps straight out of the wheelbarrow. Lots of tamping, screeding with a 1x2, form tapping with our trusty lead shot mallet and vibrating with an orbital sander (w/ no sandpaper) against the sides brought the concrete to level and all the water migrating to the top suggested a nice settlement of the mud into the form's nooks and crannies. It set for an entire week curing while I worked on other projects. Alas. The much anticipated form stripping unveiled a ton of dry spots, pits, and minor honeycombs. So much for that dry of a mix. Should have used a little more water to get it to flow but the darn thing literally rings it is so stout. We procrastinated worrying over the final finish until it was installed. I added ski rails to the form table and then used PVC pipe rollers to move it egyptian style across the room. 2x4 levers, stacks of gradually removed blocking and a floor jack eased it over and down where it belonged, with nary a busted toe or broken corner. The sink was rubbed and plastered with a thin slurry of more concrete sifted to remove any aggregate and colored extra dark hoping that the filled spots would add more visual contrast. It worked effectively but we wish it had been a smoother finish straight out of the form. After letting it dry overnight the entire sink was sanded with sanding blocks and 80 grit followed by 150, 220 on the orbital sander and a hand polishing with wet/dry 800 emory cloth. It has been sealed three or four times and then waxed by hand. The water bounces off of it and the surface looks like honed lava rock. A helluva lot of work make no mistake, but with the copper spout, and antique brick window sill for fresh herb growing it is the center of attention in the whole room.
8/13/2010
Holy Mesquite Batman!


7/09/2010
a hot humid summer


July is getting away from us already and its been a hot and humid one. Been working nearly full time on a big restoration project in downtown Houston; a 60 mill plus rebirth of the Harris County Courthouse. Houston in the summer is the kind of place that simply wouldn't exist if it weren't for air-conditioning. It has meant less time at the claim than hoped for this year but in this economy lots of work - no matter the downside - is a blessing. We have been camping out during the week in a ridiculously large rent house in North Houston with several other coworkers that is economical for the company but makes us want to flee for the peace and quiet of the country every weekend only three hours away. After yet more urban living it is a solid reaffirmation of what we are doing here with our humble home project too.
Even with sporadic progress the house is completely wired - plug ins everywhere! What a luxury! - all the plumbing is roughed in, there is a functional toilet, all the insulation is complete, and the all important air conditioning. We have started installing exterior siding, the bathroom mesquite floor, and will start on interior walls soon.
The electrical consists of underground service to 160 amps worth of service, more than adequate for less than a thousand square feet. There is lots of daylight so what little lighting there is will consist of CFL lamps and a few task lights at countertops and sitting areas. I have a weakness for funky lamps, we have gathered vintage fixtures for years that are in storage waiting for use. Dedicated, switched, and GFI outlets are spaced to code. After much deliberation on the AC needs we went with the simplest solution: three through-wall units. They are energy efficient, easily sized appropriate to the space, have no condenser on the ground, no ductwork, quiet, economical to operate, and easy to replace.
Plumbing is going to be exposed copper piping, neatly arranged and sweated connections and simple brass valves at the sinks and shower give the desired industrial hi/low tech look but also keep pipes out of exterior walls to not interfere with insulation. We are using a Sun-mar composting unit with a Dometic SeaLand low profile toilet. I did lots of reading before choosing the system and we are still fiddling with it to get the maintenance down so cannot gloat about the choices so far. There is not room under the floor for a totally direct dump dry composting unit and have never liked the look of an all in one self contained composting toilet. ( They look like you are perched atop a portable sauna.) The Sealand toilet is porcelain and looks conventional except for a foot pedal and no tank. Have had a little trouble with the water seals on the toilet but it is a huge step up from an outhouse. The toilet uses less than two cups of water to flush, a must to keep the compost from being saturated. The Sun-mar has not produced any finished compost yet but appears to be working fine. More experiences to come on that.
4/23/2010


Subscribe to:
Posts (Atom)